Array
(
    [0] => Array
        (
            [0] => Array
                (
                    [label] => Home
                    [link] => https://sftlatestbackup.staging33.com
                    [title] => Home
                    [type] => blog_home
                )

            [1] => Array
                (
                    [label] => Knowledge Base
                    [link] => https://sftlatestbackup.staging33.com/knowledge-base/
                    [title] => Knowledge Base
                    [type] => kb_home
                )

            [2] => Array
                (
                    [label] => Getting Started With DPSSW
                    [link] => https://sftlatestbackup.staging33.com/article-categories/dpssw-getting-started/
                    [title] => View all posts in Getting Started With DPSSW
                    [type] => kb_tax
                )

            [3] => Array
                (
                    [label] => Installing Discontinued Product Stock Status Pro Plugin
                    [link] => https://sftlatestbackup.staging33.com/knowledge-base/installing-discontinued-product-stock-status-pro-plugin/
                    [title] => Installing Discontinued Product Stock Status Pro Plugin
                    [type] => kb_current_page
                )

        )

)
  1. Home
  2. Knowledge Base
  3. Getting Started With DPSSW

Installing Discontinued Product Stock Status Pro Plugin

Follow the steps below to download and install the plugin on your site:
Step 1: Download the Plugin File

  • Navigate to My AccountPurchase History.
  • Locate the order for Discontinued Products Stock Status Pro for WooCommerce and click on View Details & Downloads. This will take you to the Order Details page.

On the Order Details page, you’ll find all your purchase information, including your license key and a download link for the plugin file. Under the Products section, click the provided link to download the plugin ZIP file.

Step 2: Install and activate
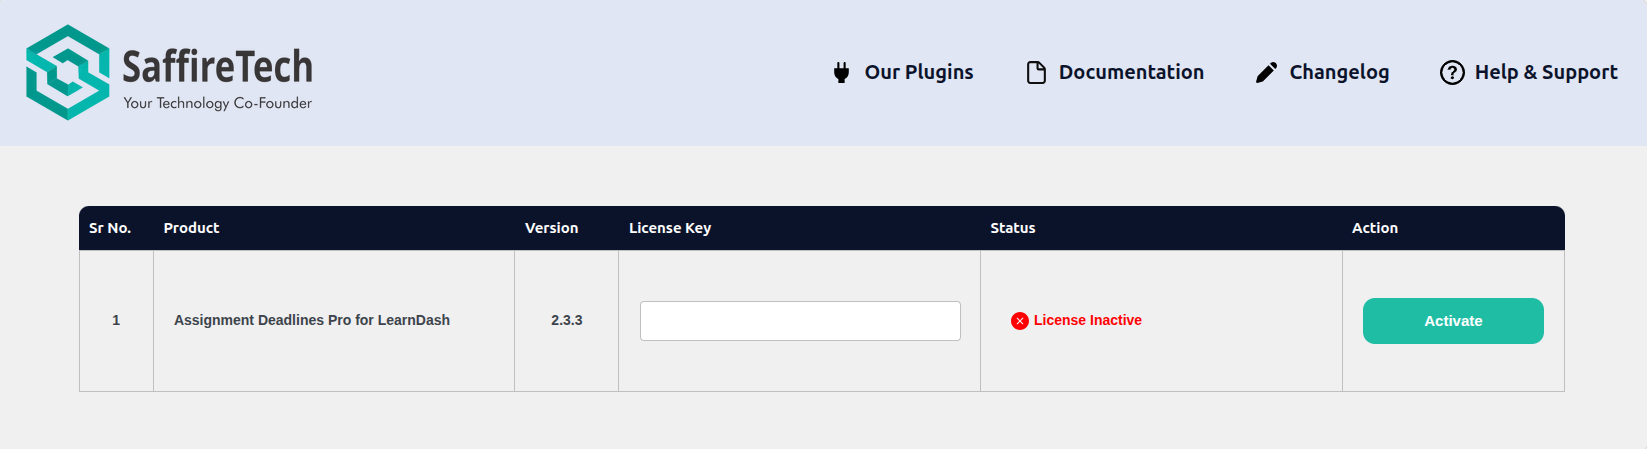
Once downloaded, navigate to your WordPress dashboard, go to Plugins, click Add New, then Upload Plugin, and upload the zip file. Once the Assignments Deadlines Pro gets installed, activate it using the API key.

Once the plugin is installed and activated, you’re all set to begin using Discontinued Product Stock Status Pro and take advantage of its powerful features for managing discontinued items in your WooCommerce store. If you need help configuring options or understanding specific functionalities, feel free to explore our other guides in the Discontinued Product Stock Status Pro Getting Started section.

Was this article helpful?

Related Articles

Need Support?

Can't find the answer you're looking for?
Contact Support